Connecting AI and eCommerce with MCP and Cloudflare Workers

Introduction

The Model Context Protocol (MCP) is a newly introduced open standard (announced by Anthropic in late 2024) that provides a universal way for AI models to interact with external services and data sources. It’s often described as “a USB-C port for AI applications” – a standardized interface that lets AI systems connect to various tools, databases, and APIs in a consistent way. Cloudflare Workers, on the other hand, are a serverless computing platform running on Cloudflare’s global edge network. They allow developers to deploy code (written in JavaScript/TypeScript, etc.) that executes close to users without managing servers. In November 2024, Cloudflare announced native support for running MCP servers on Cloudflare Workers. This combination enables developers to quickly prototype integrations that connect live eCommerce data and operations to AI assistants with minimal infrastructure overhead. In an eCommerce setting, this means an AI (such as a shopping assistant or support chatbot) can fetch real-time information (like inventory levels, pricing, or order details) or trigger transactions (such as placing an order) by calling functions exposed via an MCP server running on a Cloudflare Worker.

Potential Use Cases in eCommerce

Integrating MCP with Cloudflare Workers can unlock several practical applications for an online store:

  • Real-Time Inventory Updates:
    AI assistants can query an inventory management system to retrieve current stock levels. For example, a chatbot using MCP might check the available quantity of a product before confirming a customer’s purchase, ensuring that the information is always up to date.
  • Personalized Product Recommendations:
    By connecting to a recommendation engine or database, an AI model can generate suggestions tailored to each customer’s recent activity. This helps boost engagement by providing offers that match individual preferences.
  • Dynamic Pricing and Price Monitoring:
    An AI agent can call a pricing service to obtain the latest product prices, which may change based on market conditions or promotions. It could also track competitor prices, enabling quick adjustments to maintain competitiveness.
  • Order Processing and Management:
    An AI integrated with an eCommerce system via MCP can perform actions like creating orders, updating cart contents, or checking the status of existing orders. This reduces manual intervention, as the AI handles tasks such as adding items to a cart or finalizing a purchase directly through defined MCP tools.
  • Customer Support and Contextual Q&A:
    When a customer asks about order details or product features, an AI assistant can fetch information from order databases or product repositories via MCP. This provides accurate, up-to-date responses that improve the overall customer experience.

These examples show how integrating live eCommerce data with AI assistants through MCP and Cloudflare Workers can bring real-time context to customer interactions and business operations.

Implementing MCP with Cloudflare Workers in an eCommerce Platform

Integrating MCP into an eCommerce platform via Cloudflare Workers generally involves creating an MCP server that exposes the eCommerce platform’s capabilities as callable functions (often referred to as “tools” in MCP). Cloudflare Workers are an ideal host for these MCP servers because they are lightweight, scalable, and can easily interface with external APIs or databases. Here’s an outline of the process:

  1. Design the MCP Server Interface (Tools):
    Decide which eCommerce functions you want to expose to the AI. Each function becomes a tool on the MCP server. For example, you might define tools like checkInventory(product_id), getRecommendations(user_id), getPrice(product_id), or createOrder(order_details). Each tool should clearly specify its inputs and outputs. Cloudflare’s MCP support simplifies tool definition by using in-code comments (e.g., JSDoc) that both document the function and explain its purpose to the AI.
  2. Set Up a Cloudflare Worker as an MCP Server:
    Deploy a Cloudflare Worker that implements the MCP tools. Cloudflare provides an MCP SDK/template (workers-mcp) that handles much of the boilerplate, such as routing requests and formatting responses. For example, a Worker might include a method like this:
export default class EcommerceMCPServer extends WorkerEntrypoint {
    // Tool: Check inventory of a product
    /**
     * Check available stock for a given product.
     * @param productId {string} The ID of the product to check.
     * @return {number} The current stock count for that product.
     */
    getInventory(productId: string) {
        // (Here you would query your inventory DB or API)
        return inventoryDB.getStock(productId);
    }
    // ... other tools ...
    async fetch(request: Request): Promise<Response> {
        return new ProxyToSelf(this).fetch(request);
    }
}

  1. This setup routes incoming MCP requests to the corresponding functions, allowing the AI to trigger these actions with minimal setup work.
  2. Connect to eCommerce Data Sources:
    Inside your Worker code, integrate with your existing eCommerce systems—whether that means calling a REST API, querying a database, or interfacing with a third-party service. Cloudflare Workers can easily perform external API calls, and tools like Workers KV or D1 help store and access data quickly.
  3. Secure and Contextualize Access:
    Because many eCommerce operations are user-specific or sensitive, ensure your MCP tools require proper authentication or user context. Use Cloudflare’s secure environment to store API keys and enforce authorization on each MCP function. This helps prevent unauthorized access or modifications.
  4. Testing the AI Integration:
    Once your MCP server is up, connect an MCP-compatible AI (such as Anthropic’s Claude) to it. The AI will receive a list of available tools along with their descriptions, allowing it to call functions as needed. For example, if a user asks for stock details or to place an order, the AI can invoke getInventory or createOrder accordingly. Iterative testing helps fine-tune both the tool definitions and the AI’s interactions.
  5. Iterate and Expand:
    Once basic functionality is established, add more tools or refine existing ones. You might integrate analytics to track sales trends or connect additional external services (like shipping APIs) to further enhance the AI’s capabilities. The flexibility of Cloudflare Workers means you can quickly update your MCP server as requirements evolve.

Benefits of Using MCP and Cloudflare Workers

This approach offers several clear benefits:

  • Real-Time Information:
    AI agents can provide accurate and up-to-date responses, pulling live data on stock, pricing, and orders.
  • Standardized Integration:
    MCP creates a uniform way for your AI to interact with different services, reducing the need for custom connectors.
  • Faster Prototyping:
    Cloudflare Workers allow you to deploy and update your MCP server quickly, cutting down on infrastructure overhead.
  • Global Availability:
    With Cloudflare’s extensive network, your MCP server can serve requests from anywhere, ensuring a smooth experience for customers worldwide.

Challenges and Considerations

While the combination of MCP and Cloudflare Workers is promising, there are some points to keep in mind:

  • Early-Stage Technology:
    As a new standard, MCP’s documentation and community support are still growing. Developers may need to conduct additional research during setup.
  • Security and Access Control:
    When integrating AI with sensitive eCommerce systems, it is essential to enforce strict security measures and access controls.
  • Error Handling:
    Robust error handling and logging are necessary to manage unexpected inputs or failures in tool calls.
  • Performance:
    Multiple sequential API calls may impact response times. Optimizing code and caching frequent queries can help maintain speed.
  • Integration with Existing Systems:
    If your eCommerce platform already uses established APIs, you may need middleware to translate between those formats and the MCP standard.

Examples and Case Studies

Early adopters are already testing MCP for eCommerce applications. For instance:

  • Industry Integrations:
    Companies like Block and Apollo have begun integrating MCP into their systems, suggesting its potential for connecting AI with commerce and payment operations.
  • Cloudflare Demos:
    Cloudflare’s own examples demonstrate how an MCP server can be built on Workers. While their demos include simple “hello world” functions and image generation, the same principles apply to more complex eCommerce functions.
  • Community Projects:
    Open-source MCP server implementations exist for platforms such as Shopify and for services like product search and order management. These projects show that real-time interactions—such as fetching live product data or managing orders—are already possible using MCP and Cloudflare Workers.

Digital Transofrmation in Learning

We are in an era of horizontal learning and now we are going to vertical learning. Digital transformation on learning is not optional anymore as community and business are going faster than education. There is no time to wait for HR to send you to the course, and we need to own our learning ownership!

That is why in Sudo Roux we are pushing for the change, the transformation that needs not just push learning to the next leve but the experience to the next level. UTS was the first starting point, and we are aiming for much bigger. Watch the video and ask us how!

DOING IT THE DO!

https://sudoroux.com.au/education

Custom page for schedule job status

Our customer asked for a custom dashboard that shows uses data sources, including ‘Schedule Job’ history. To achieve this we are going to use:

IScheduledJobRepository

And implementation would be quite easy:

[HttpPost]
public async Task<ActionResult> ImportHistory()
{
    var importUsersJobType = typeof(ImportUsersJob);

    var job = scheduledJobRepository
        .List()
        .FirstOrDefault(j => j.TypeName == $"{importUsersJobType.Namespace}.{importUsersJobType.Name}");

    var result = await scheduledJobLogRepository.GetAsync(job.ID, 0, int.MaxValue);

    return Json(result.PagedResult.Select(a => new
    {
        CompletedUtc = a.CompletedUtc.ToLocalTime().ToString("yyyy-MM-dd HH:mm:ss"),
        a.Message,
        Status = a.Status.ToString()
    }));
}

The schedule job type is ‘ImportUserJob’, and we are getting history data of the execution of the job:

var result = await scheduledJobLogRepository.GetAsync(job.ID, 0, int.MaxValue);

And finally return back JSON object of exection data back to FED:

return Json(result.PagedResult.Select(a => new
    {
        CompletedUtc = a.CompletedUtc.ToLocalTime().ToString("yyyy-MM-dd HH:mm:ss"),
        a.Message,
        Status = a.Status.ToString()
    }));

PS: Scott Reed mentioned there is a plugin to overview all of your scheduled jobs please find it here

Epsierver Developer Group – Winter 2020

We are back with awesome gathering (obviously online) for our awesome developers. Our agenda:

  • Darren Stahlhut presents AI 1:1 Personalisation with Episerver Content Intelligence & Recommendations – Darren Stahlhut is Technical Director of Digital @ Empired, with more than 16 years experience across .NET CMS & DXPs. Darren is an Episerver MVP and certified developer of Episerver, Sitecore and Kentico.
  • Ronil Rangaiya presents “YAML with Deployment API” to setup CI/CD pipelines in Azure DevOps – Ronil Rangaiya is Digital Technical Architect @ Empired, with more than 10 years experience designing and implementing digital experience solutions, Ronil is certified in Episerver CMS and Commerce

it will happen online at Wed, August 5, 2020, 6:30 PM – 8:00 PM AEST. We love to see you all online so if you are interested please register here.

Custom LineItemValidator

Episerver has quite nice mechanism on validating cart, line item, shipment , , promotion and inventory. I was looking into customizing the line item validtion, to inject some business logic. To do this:

  1. First create new class and inherit from ILineItemValidator
   public class CustomLineItemValidator : ILineItemValidator
    {
        private readonly ILineItemValidator defaultImplementation;
        private readonly IOrderRepository orderRepository;

        public CustomLineItemValidator(ILineItemValidator defaultImplementation,
            IOrderRepository orderRepository)
        {
            this.defaultImplementation = defaultImplementation;
            this.orderRepository = orderRepository;
        }

        [Obsolete]
        public bool Validate(ILineItem lineItem, IMarket market, Action<ILineItem, ValidationIssue> onValidationError)
        {
            if (AlreadyPurchased(lineItem))
            {
                onValidationError(lineItem, ValidationIssue.RemovedDueToUnavailableItem);

                return false;
            }

            return defaultImplementation.Validate(lineItem, market, onValidationError);
        }

        public bool Validate(ILineItem lineItem, MarketId marketId, Action<ILineItem, ValidationIssue> onValidationError)
        {
            if (AlreadyPurchased(lineItem))
            {
                onValidationError(lineItem, ValidationIssue.RemovedDueToUnavailableItem);

                return false;
            }

            return defaultImplementation.Validate(lineItem, marketId, onValidationError);
        }

        private bool AlreadyPurchased(ILineItem lineItem)
        {
            var alreadyPurchased = false;
            var customerId = lineItem?.ParentOrderGroup?.CustomerId;

            if (customerId != null)
            {
                var orders = orderRepository.Load<IPurchaseOrder>(customerId.Value);

                if (orders != null)
                {

                    alreadyPurchased = orders.Any(a => a.GetAllLineItems()
                                                            .Any(l => string.Equals(l.Code,
                                                                                    lineItem.Code,
                                                                                    StringComparison.InvariantCultureIgnoreCase)));

                }
            }

            return alreadyPurchased;
        }
    }

In our example above, we are checking to make sure if the user already purchased the item before and if that is a case we return false as a result of validation. It may be weird but our customer has this requirement and it is meaningful in their context. As you can see we are re-using existing line item validator as well.

2. Next step is to inject our new validator to the DI:

    [InitializableModule]
    public class DependencyResolverInitialization : IConfigurableModule
    {
        private static readonly ILogger logger = LogManager.GetLogger();

        public void ConfigureContainer(ServiceConfigurationContext context)
        {
            var services = context.Services;

            services.Intercept<ILineItemValidator>(
                (locator, defaultImplementation) =>
                    new CustomLineItemValidator(defaultImplementation,
                                locator.GetInstance<IOrderRepository>()));
        }
    }

As you can see on DependencyResolverInitialization class, I added a new section to intercept the ILineItemValidator. If you are not sure what I’m speaking of you can read more about it here.

If you are having ‘Commerce Manager’ make sure you do same thing in both CommerceManager and Shopfront projects!

Create a Campaign, Discount programmatically – Episerver Commerce

We had a scenario that customer wants to generate a coupon dynamically and use the coupon as credit for the user. The code as everything else in Episerver is quite straight forward:

The first step is to create a sales campaign:

        private SalesCampaign EnsureCampaignCreated()
        {
            var campaign = contentRepository
                .GetChildren<SalesCampaign>(SalesCampaignFolder.CampaignRoot)?
                .FirstOrDefault(a => a.Name == "Credit");
            
            if (campaign == null)
            {
                campaign = contentRepository
                    .GetDefault<SalesCampaign>(SalesCampaignFolder.CampaignRoot);
                campaign.Name = "Credit";
                campaign.Created = DateTime.UtcNow;
                campaign.IsActive = true;
                campaign.ValidFrom = DateTime.Today;
                campaign.ValidUntil = DateTime.Today.AddYears(1);
                var campaignContentRefrence = contentRepository.Save(campaign, SaveAction.Publish, AccessLevel.NoAccess);

                campaign = contentRepository.Get<SalesCampaign>(campaignContentRefrence);
            }

            return campaign;
        }

As you can see we just make sure the campaign is being created and our key in this stage is ‘Campaign Name’ which may be not good enough for some scenarios but for us is enough. Second I’m loading ALL campaigns and iterate through them to find a specific campaign. Again in our scenario, it will not that much effect but if the commerce you are dealing with has MANY campaigns you can use LoaderOptione as below:

Next step is to create a discount:

        private string CreateDiscountPromotion(ContentReference campaignLink, string orderNumber, Money couponAmount)
        {
            var catalougLink = siteSettingsService.StartPage.DefaultCatalogue;

            var couponCode = $"CREDIT-{Guid.NewGuid().ToString().Replace("-", "").Substring(6)}";

            var promotion = contentRepository.GetDefault<BuyQuantityGetItemDiscount>(campaignLink);
            promotion.IsActive = true;
            promotion.Name = $"CREDIT-{orderNumber}";
            promotion.Coupon.Code = couponCode;
            promotion.Condition.Items = new List<ContentReference>() { catalougLink };
            promotion.Condition.RequiredQuantity = 1;
            promotion.Condition.MatchRecursive = true;
            promotion.DiscountTarget.Items = new List<ContentReference>() { catalougLink };
            promotion.Discount.UseAmounts = true;
            promotion.Discount.Amounts = new List<Money>() { couponAmount };

            contentRepository.Save(promotion, SaveAction.Publish, AccessLevel.NoAccess);

            return couponCode;
        }

As you can see generating a discount is very straight forward. I used ‘BuyQuantityGetItemDiscount’ which fits for my purpose but you can use any out of the box or custom discount you want. Discount which I used ‘BuyQuantityGetItemDiscount’ require to define what catalog item can this discount can be applied. I’m including all current site catalog (I’m getting it from start page which is custom property) but you can use any other method (e.g. iterate through all catalogs and include all catalogs). There is a flag ‘MatchRecursive’ which is set to true, means all descendants of selected items will include in promotion.

So finally we need to call these method full code as bellow:

        private string CreateCreditVoucher(string orderNumber, Money couponAmount)
        {
            var campaign = EnsureCampaignCreated();

            return CreateDiscountPromotion(campaign.ContentLink, orderNumber, couponAmount);
        }

        private SalesCampaign EnsureCampaignCreated()
        {
            var campaign = contentRepository
                .GetChildren<SalesCampaign>(SalesCampaignFolder.CampaignRoot)?
                .FirstOrDefault(a => a.Name == "Credit");
            
            if (campaign == null)
            {
                campaign = contentRepository
                    .GetDefault<SalesCampaign>(SalesCampaignFolder.CampaignRoot);
                campaign.Name = "Credit";
                campaign.Created = DateTime.UtcNow;
                campaign.IsActive = true;
                campaign.ValidFrom = DateTime.Today;
                campaign.ValidUntil = DateTime.Today.AddYears(1);
                var campaignContentRefrence = contentRepository.Save(campaign, SaveAction.Publish, AccessLevel.NoAccess);

                campaign = contentRepository.Get<SalesCampaign>(campaignContentRefrence);
            }

            return campaign;
        }

        private string CreateDiscountPromotion(ContentReference campaignLink, string orderNumber, Money couponAmount)
        {
            var catalougLink = siteSettingsService.StartPage.DefaultCatalogue;

            var couponCode = $"CREDIT-{Guid.NewGuid().ToString().Replace("-", "").Substring(6)}";

            var promotion = contentRepository.GetDefault<BuyQuantityGetItemDiscount>(campaignLink);
            promotion.IsActive = true;
            promotion.Name = $"CREDIT-{orderNumber}";
            promotion.Coupon.Code = couponCode;
            promotion.Condition.Items = new List<ContentReference>() { catalougLink };
            promotion.Condition.RequiredQuantity = 1;
            promotion.Condition.MatchRecursive = true;
            promotion.DiscountTarget.Items = new List<ContentReference>() { catalougLink };
            promotion.Discount.UseAmounts = true;
            promotion.Discount.Amounts = new List<Money>() { couponAmount };
            
            contentRepository.Save(promotion, SaveAction.Publish, AccessLevel.NoAccess);

            return couponCode;
        }

Discount and promotion has far more features that I haven’t included, you can read more about it HERE

Episerver Ascend Sydney 2020

First Episerver Ascend in the APAC area was very exciting. First I realized how many friends I found through Episerver and it is not just the platform I loved it helped me to find heaps of good friends.

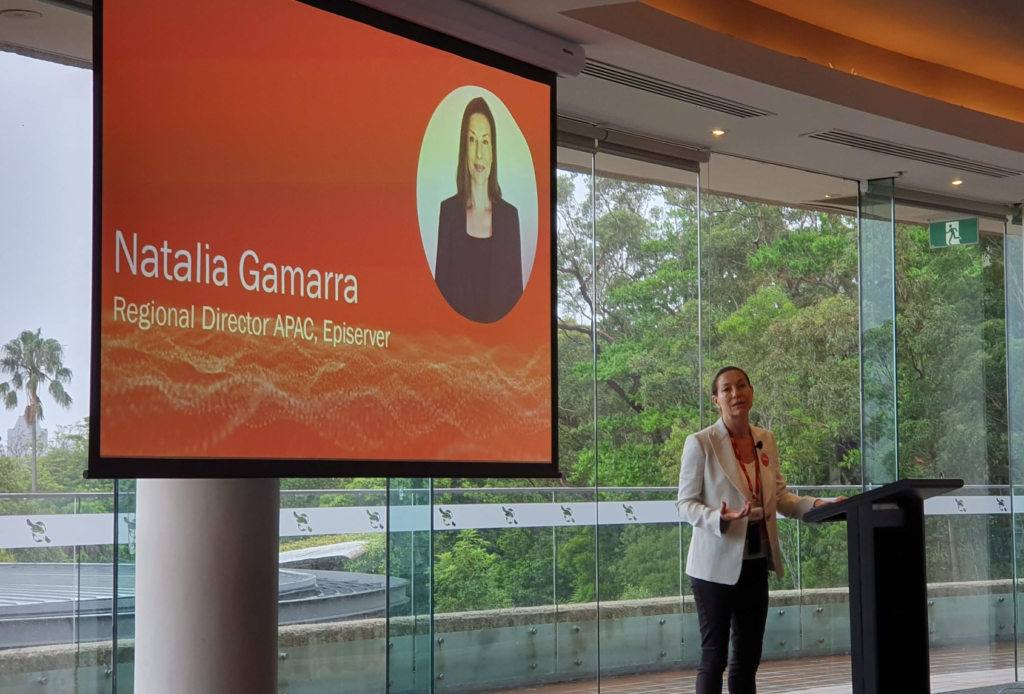
Starting the day Episerver Regional Director APAC Natalia Gamarra kicked off the event with the agenda:

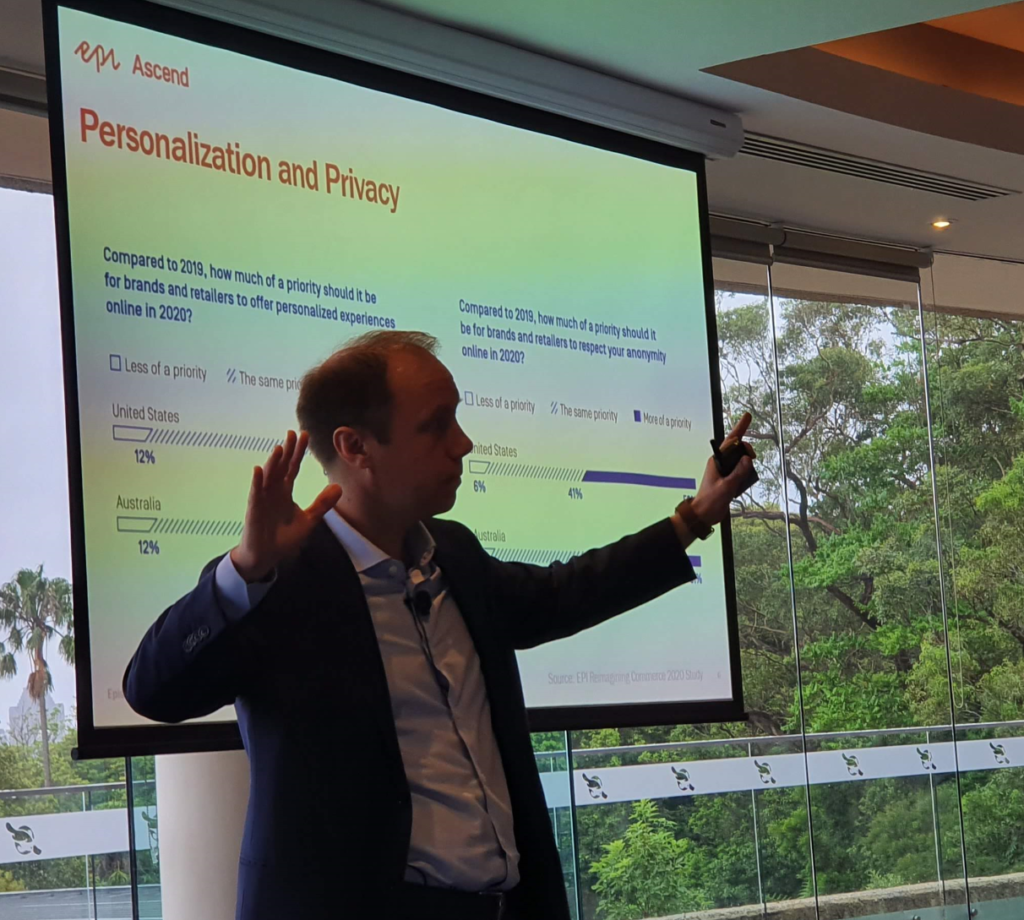
Next Episerver CEO Alex Atzberger spoke about Personalization and Privacy and how it can change the user acquisition:

And focus of Episerver to “empowering growing companies to compete digitally”

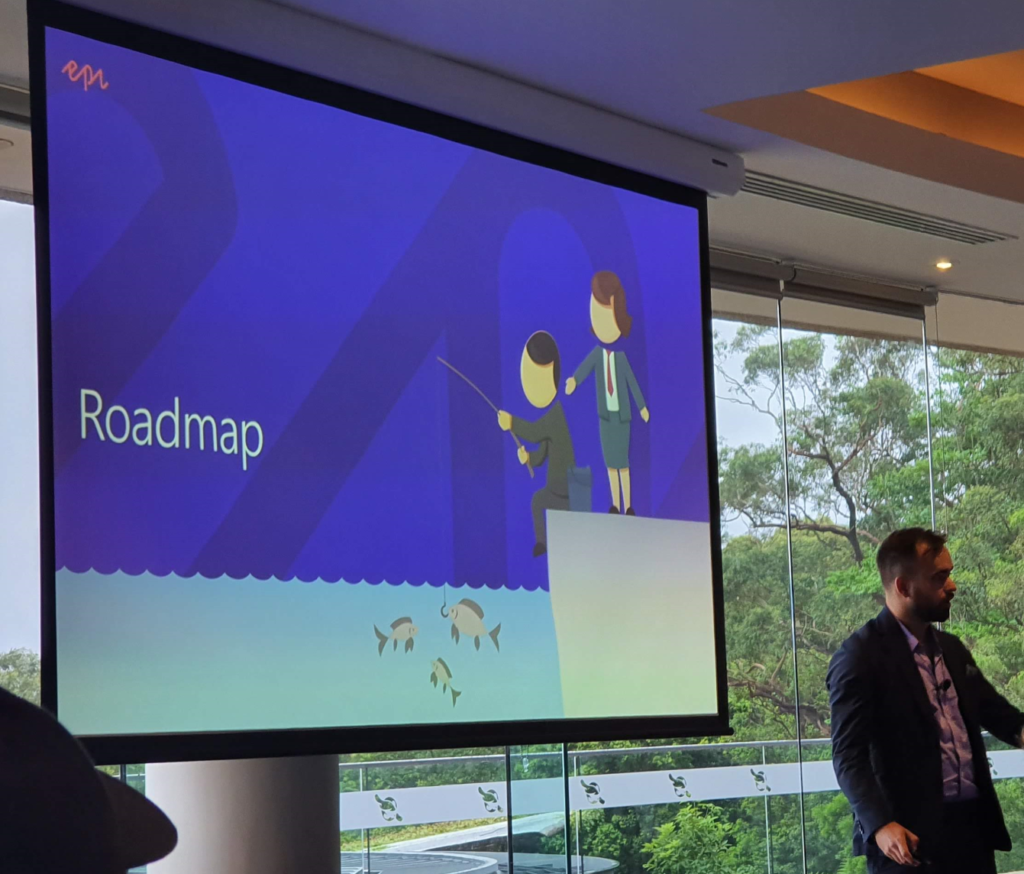
Jacob Khan VP, Solution Architecture spoke about the road map and Episerver focus on the personalization:

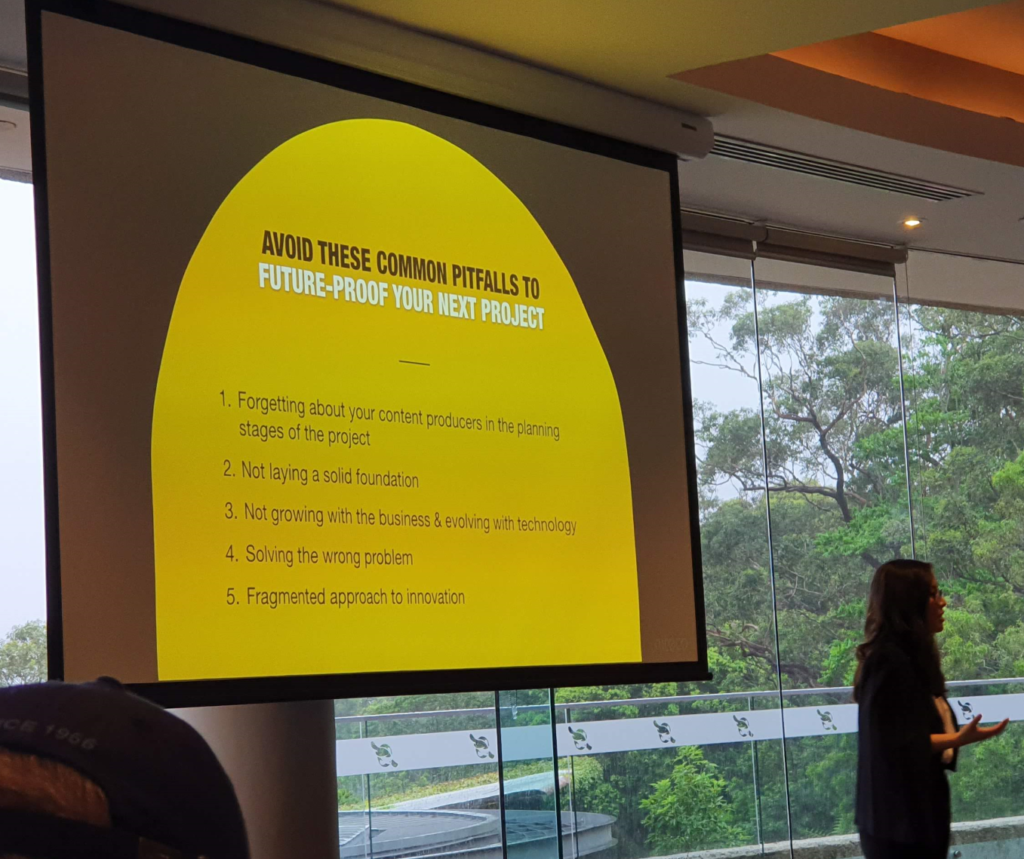
Next presenter was Niteco spoke about best practices when dealing with digital transformation. Nicola Ayan started with best technical best practices for digital transformation:

And then Michelle Tran follows the conversation on best practice for design and strategy:

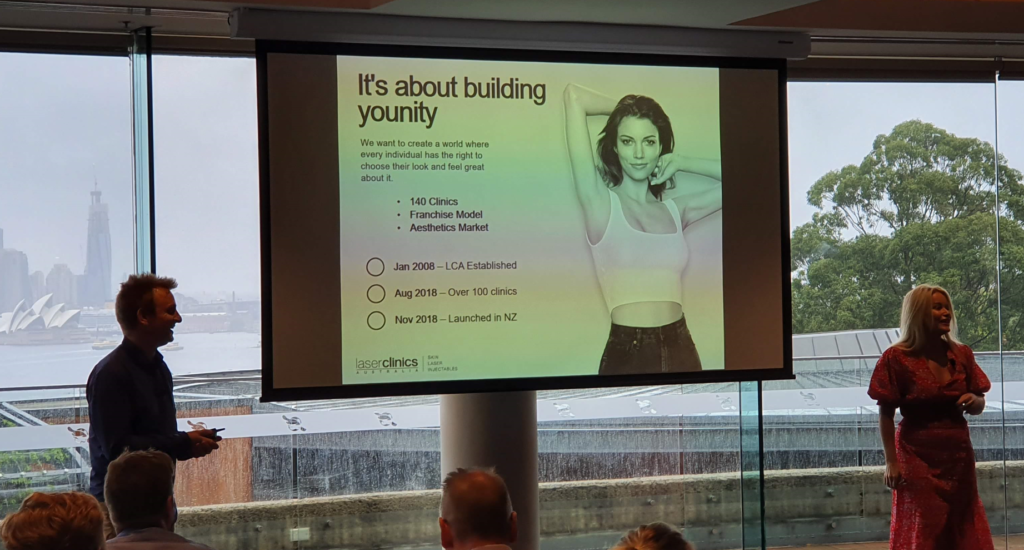
Next Empired spoke about a digital project for Laser Clinics. Kevin Miller presented on behalf of Empired and Louise Chamberlain on behalf of Laster Clinics.

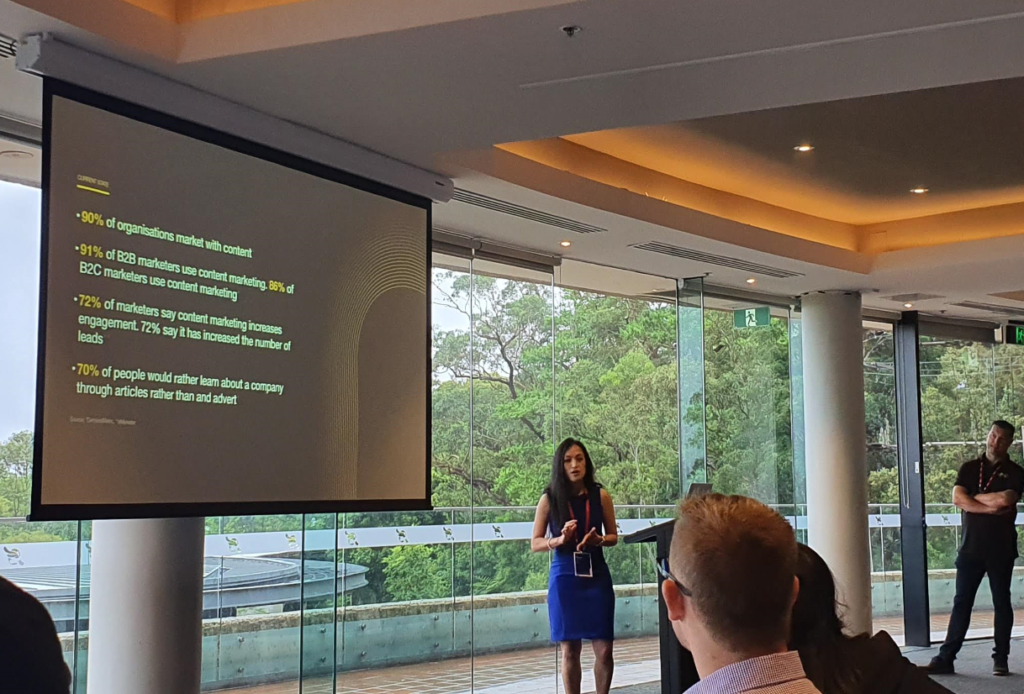
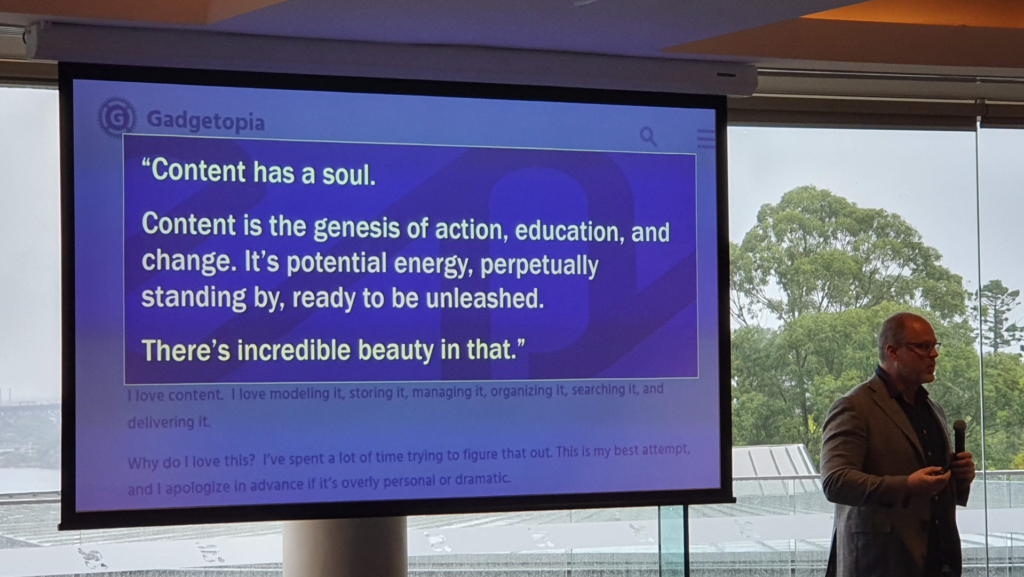
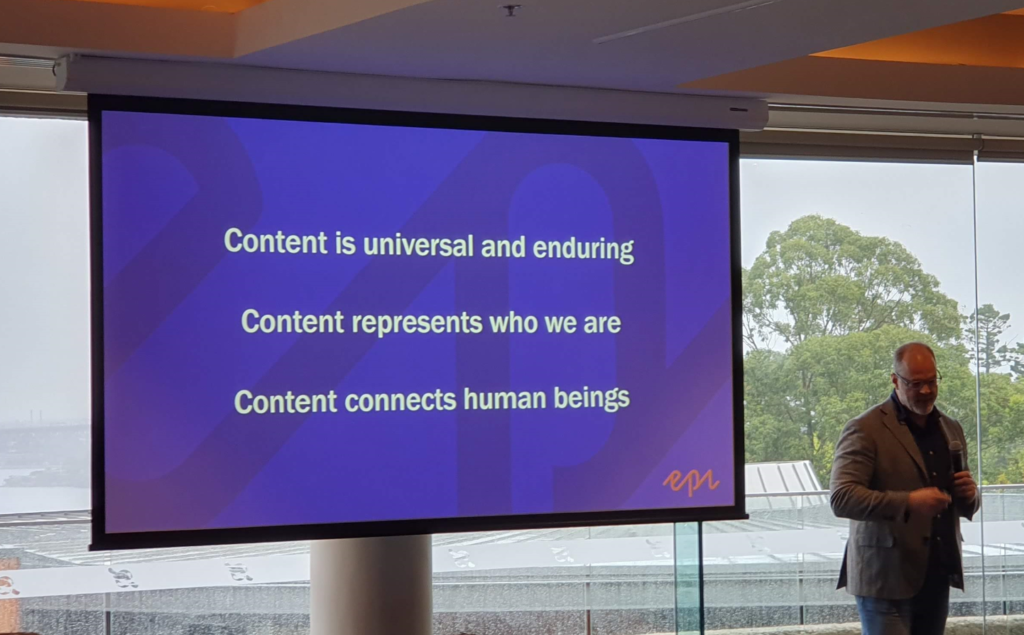
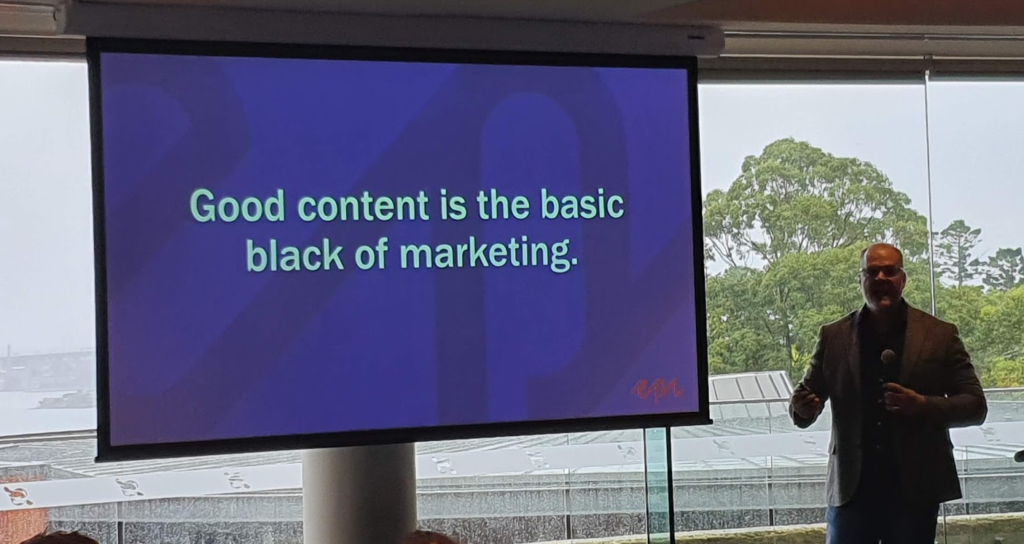
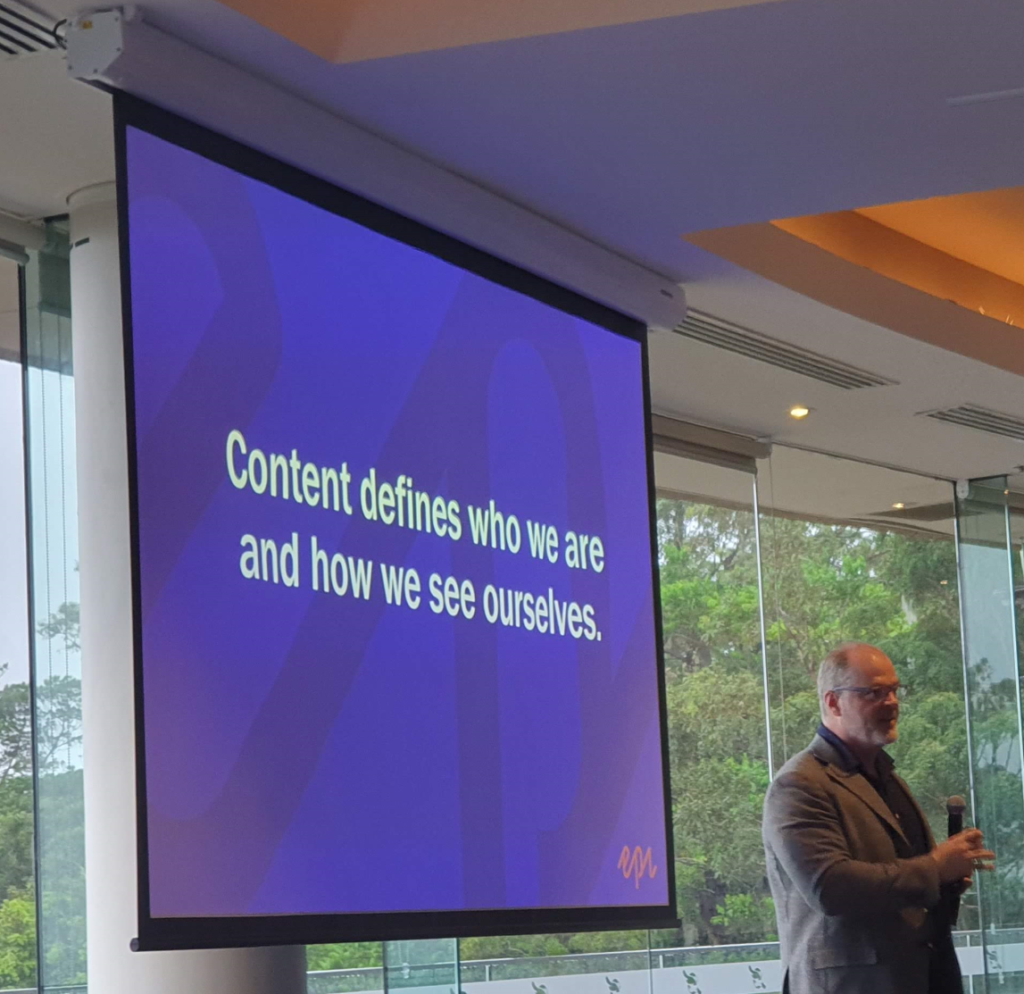
Deane Barker had a really good presentation about the content. He thinks “Content ha a soul” which is I agree with him, we need to think about the content as part of our solution:


And this is my favorite:

And finally Adi Wickramaratne on behalf of St John New Zealand. LEVO Digital did the digital transformation.

No alternative text description for this image

IT was really nice day, learned heaps and see many old friends. Thanks so much, Episerver, especially

Alexander Atzberger

Joey Moore

Natalia Gamarra

Jacob Khan

Malin Dahlin

Frankie Lui

“Some” best practices I learned on commerce personalization

The concept of personalization is a wide range. I’m working on a project that needs personalization and started to learn. One cool thing I learn from “Foundation” project (Foundation is a very good sample of all Episerver offerings) is how to build a code to use Episerver Tracking Commerce. Again I’m learning and please advise me if I can improve any part of it 🙂

Please read through how to install tracking Nuget package from here

The next step is to create a separate project in your solution and add a commerce tracking package to the solution. Then add a class as below:

public interface ICommerceTrackingService
    {
        Task<TrackingResponseData> TrackOrder(HttpContextBase httpContext, IPurchaseOrder order);
    }

    public class CommerceTrackingService: ICommerceTrackingService
    {
        private readonly IContextModeResolver contextModeResolver;
        private readonly TrackingDataFactory trackingDataFactory;
        private readonly ITrackingService trackingService;
        private readonly ServiceAccessor<IContentRouteHelper> contentRouteHelperAccessor;

        public CommerceTrackingService(IContextModeResolver contextModeResolver,
            TrackingDataFactory trackingDataFactory,
            ITrackingService trackingService,
            ServiceAccessor<IContentRouteHelper> contentRouteHelperAccessor)
        {
            this.contextModeResolver = contextModeResolver;
            this.trackingDataFactory = trackingDataFactory;
            this.trackingService = trackingService;
            this.contentRouteHelperAccessor = contentRouteHelperAccessor;
        }

        public async Task<TrackingResponseData> TrackOrder(HttpContextBase httpContext, IPurchaseOrder order)
        {
            if (contextModeResolver.CurrentMode != ContextMode.Default)
            {
                return null;
            }

            var trackingData = trackingDataFactory.CreateOrderTrackingData(order, httpContext);
            return await trackingService.TrackAsync(trackingData, httpContext, contentRouteHelperAccessor().Content);
        }
    }

I put both interface and class in the same file to simplify the post but if you want you can separate them.

Next step is to change you StructureMap to scan new project (this is optional depending on your StructureMap structure)

            context.StructureMap().Configure(config =>
            {
                config.Scan(scan =>
                {
                    scan.TheCallingAssembly();
                    scan.Assembly("EPiServer.Sample.Commerce.Personalization");
                    scan.WithDefaultConventions();
                    scan.LookForRegistries();
                });
            });

The next step is to call the track order. We want to do that when the order is being placed. So after cart converted to purchase order you can call your TrackOrder function:

commerceTrackingService.TrackOrder(httpContext, purchaseOrder);

This will push all relevant data from order to tracking engine to help the recommendation engine to get a better understanding of the user behavior.

I recommend to checkout “Foundation” project that has a very comprehensive sample.

Episerver and ASP.Net Core

Recently Episerver announced for Episerver ASP.Net Core program. This is really exciting news, as .Net Community (aka Microsoft!) announced focus more on .Net Core (means no more new version of .Net Framework!). Details of how Episerver is going to do it will be available here. So what is good about it:

  • The presentation layer can be written on lovely ASP.Net Core platform
  • .Net Core is lightweight compare to .Net framework. The presentation conceptually would be lean and faster! (I not sure if it would be a case anyway!)
  • Developers would be happy that they are working on edge technology!

Now what I think would be interim challenges until upgrading the whole platform:

  • Running two applications (for CMS) and three applications (for Commerce).
  • For page rendering, another HTTP call required that to be a potential failure point – means when something goes wrong developer needs more time to find the issue and that means more APPLICATION LOGGING!
  • Page Templates (aka Razor Templates) should be running on both PRESENTATION and EDITOR view. This perhaps makes it quite complicated as now we need ANOTHER project to share MODELS! And the concept of ‘Feature Group‘ we are using for a while needs to be reconsidered – Having said that there could be some ways to avoid duplicated views!

I have a very positive feeling about this Episerver move and I know it would be complicated both for Episerver Devs and external Devs and we all love challenges!

Sydney Episerver Meetup – Winter 2019 – Outcome

It was a really good gathering and I personally learn a lot.

Damien Dias from Episerver went through Episerver CMS and eCommerce certification exams. He gave a very good brief about what is his journey to get the certifications and shared tips around the main area of the exams.

The second part we had Darren Stahlhut from Luminary that he spoke about the really cool framework called Blazor from Microsoft (it is still not released!) and he married up Blazor with Episerver which was really cool. You read about it more here.